
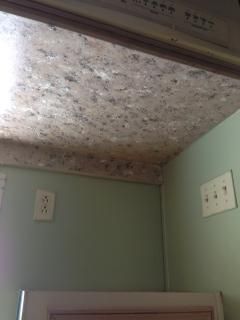
Here is the BEFORE:

The photo doesn't do it justice. It is UGLY!!!!!
Here are the products that I used:
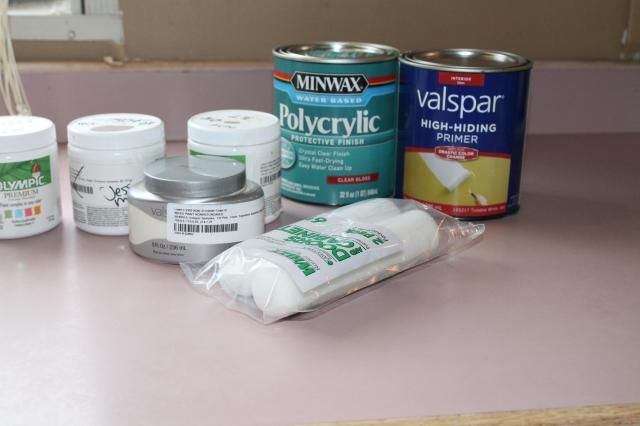
You need a tintable primer. I messed up and did not tint it and just used it white. Not a big problem but it caused an extra step. Have it tinted to one of the lighter colors you are using, but not too close to white. Choose the color you want the finished product to look most like.
You will also need one of the white foam rollers, natural sea sponges and polyacrylic to finish it.
For the colors you can use whatever you want. You will see that I have a mix of colors. I used a total of eight colors. I started by visiting OOPS shelf at my local hardware stores. I found 3 of my colors for $.50 each. I then had another mixed in a sample size container for $3. I thought that would be enough but it was not so I went to Wally World and purchased 4 more: a black, one with a bronze like look, and two other brown tones.
Now, onto the actual process. You want to lightly sand the counters. An electric sander is awesome for this, but you can use sandpaper or one of the sandpaper blocks as well. Once you sand them, wipe them down and let them dry.
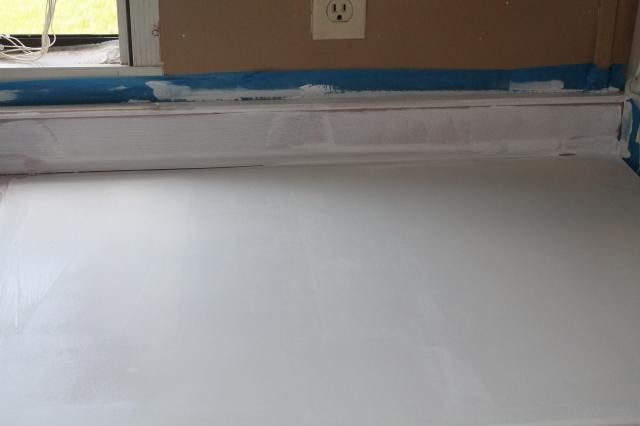
Now you are ready to begin. Your first step is to apply the primer. I did one coat of the white and then once I realized that was not going to work I added some of one of my colors to the primer and applied another coat. If you do it right you should only need one coat of primer.
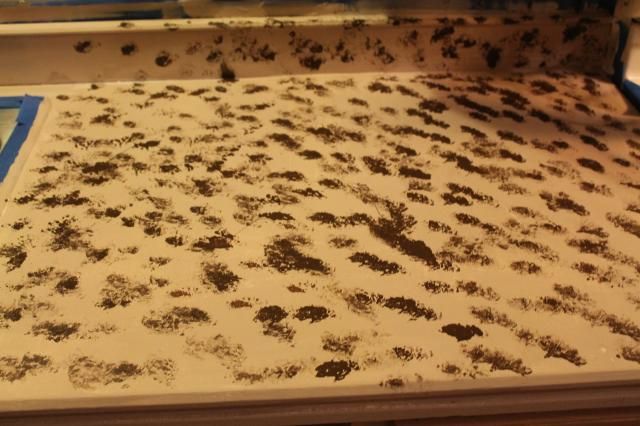
Here is my white primer coat:
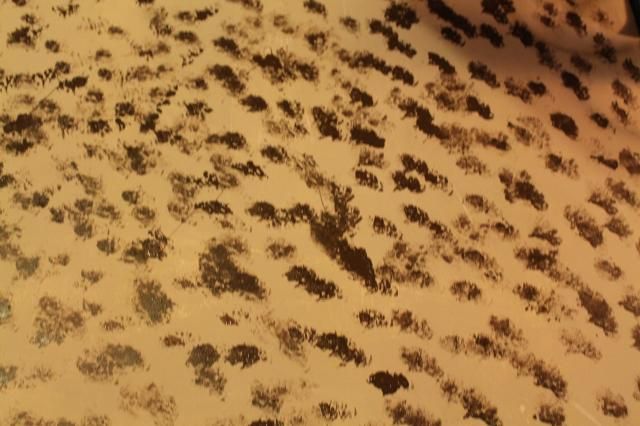
This next photo shows the new base coat/tinted primer coat (whatever you want to call it). It also shows the first color (dark brown). You want to start with one of the darkest colors (but not black) and move to lightest, but ending with your base color. Tear your sponge into small pieces and sponge the color onto the counters. Now, I will tell you this part freaked me out. It looks AWFUL. When you get to this point you will begin to regret even thinking about doing this project. But it's okay! I promise!!! Just take a deep breath and keep going. And if you are really scared you can practice on another surface just to get the technique down. I ended up covering two places of my counters up with another coat of primer and starting over.
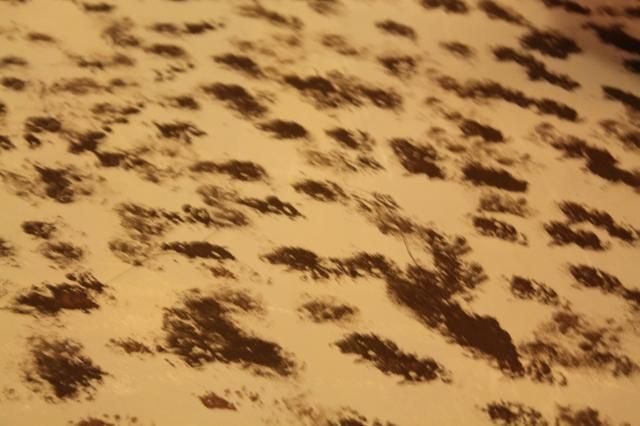
I told you it was scary!!!!
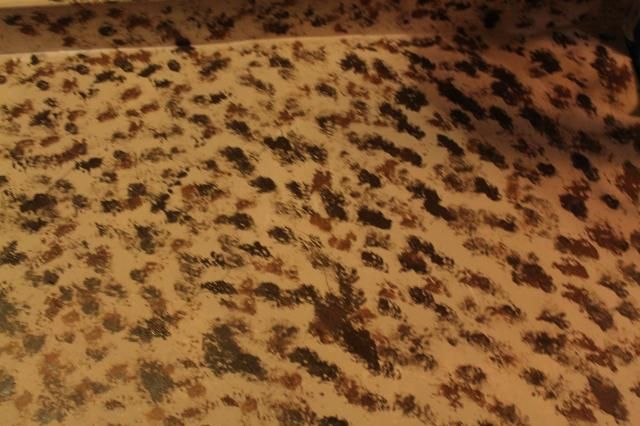
Next you apply a lighter color.
And the next:
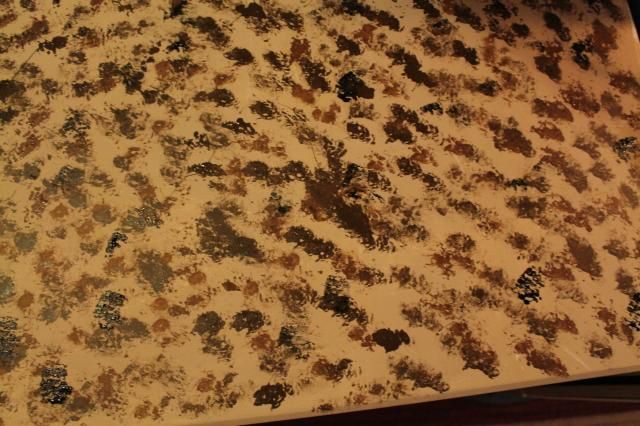
Here I added the black. I did this color very sparingly:
 |
Keep adding colors until you get to your lightest (skipping the base/main color). |
Here is the lightest color, but before the base color.
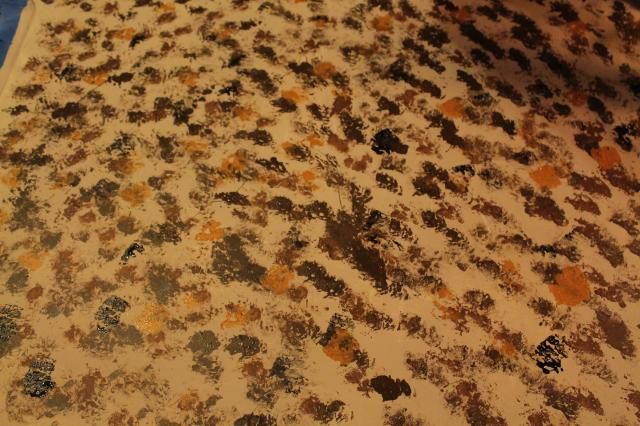
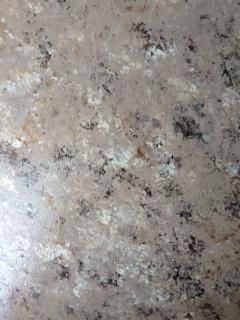
See? It looks better now, doesn't it? Now you add your base color and viola! Its like magic. Here is a close-up at night when I finished it:
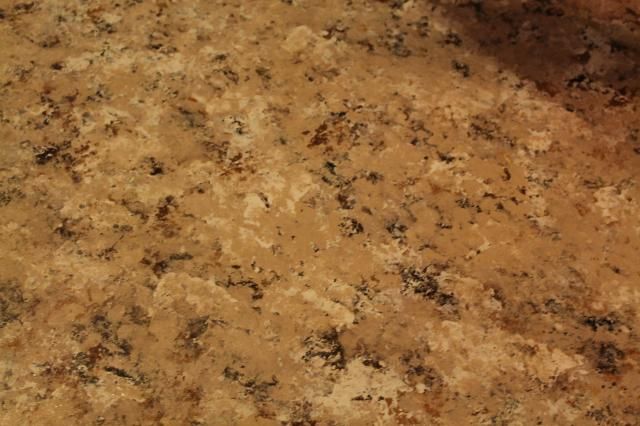
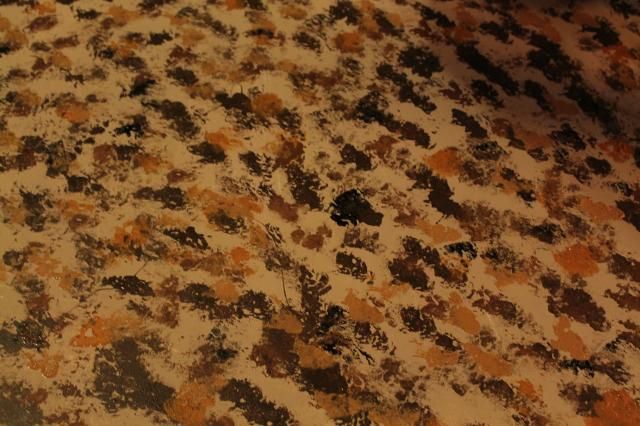
Here it is in the daylight:
You finish it with 5-10 coats (I did 7) of the polyacrylic using the foam roller. I let it dry about 30 min between each coat. You then need to let it dry 48 hours before using them.
I did find that some of the paint peeled when I removed the tape. Be very careful when removing it. I used some of the polyacrylic to 'glue' it back down and it looks fine right now.
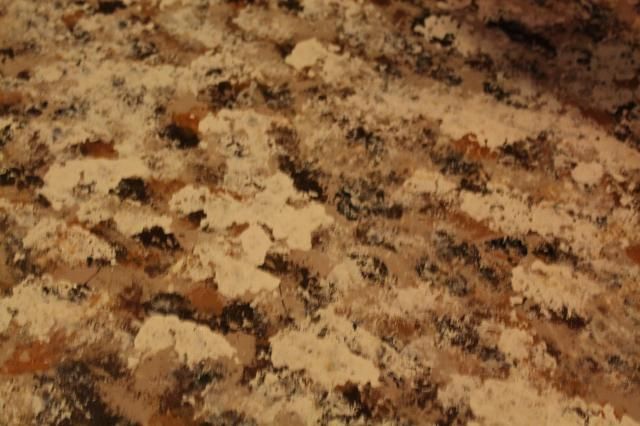
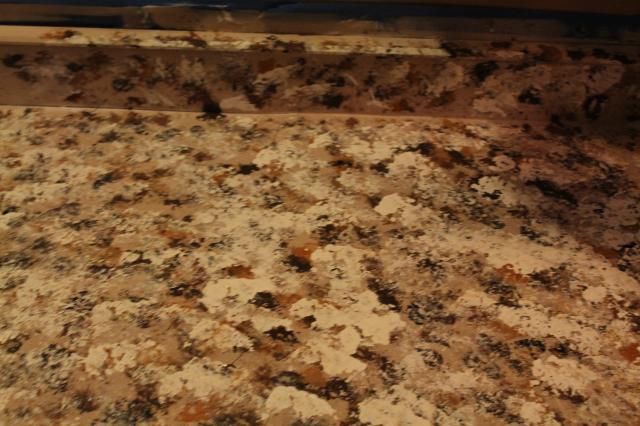
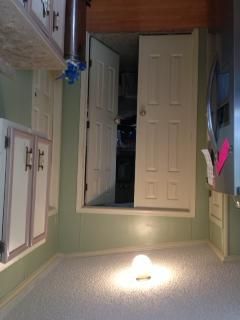
In the next few weeks I will be redoing my hideously ugly cabinets too. The ugly just pops right now with the new counters:
The green wall paint is new today too. I lurve it!!!! It was a color called 'brown bag' before. It was nice......when I painted it 5 years ago. It was drab and boring now. The green gives it a fresh look.
So there ya go! Step by step. Feel free to ask questions. :)